Chapter 9. Scheduling
The scheduling function allows you to execute reports automatically at a defined time and, for example, to send the result by email. All familiar export formats are available. The target of a schedule can either be the email account of a user registered in ReportServer, or a TeamSpace.

In the dialog that opens, first select the desired output format and then specify the recipients of the schedule. Recipients are selected by double-clicking. If the report is sent by email, the specified persons will receive the exported report as an email attachment. If the report is scheduled to a TeamSpace, the recipients are only notified that a schedule has been executed.
The checkbox enables additional configuration options on the following pages.
On the next page you select the scheduling targets. These can be TeamSpace and/or email recipients.
If sending as attachment is enabled, you can specify the subject and text of the message that will be sent upon execution.
For schedules to a TeamSpace, specify the desired target TeamSpace and the corresponding folder within it. In addition, you can define the name and description of the file to be created. In the field you can use a ${}-formula expression (see Formula Language). The replacement allows you to access the current date.
If you have enabled the option to display advanced settings on the first page, the form page is displayed. Conditional scheduling is a feature that allows you to suspend or delay the execution of a scheduled report if a precondition is not met. You define preconditions based on key figures provided by an administrator. Using the button, you first select a set of key figures and then define a condition based on them. To formulate the condition, you use a $-formula expression that evaluates to a boolean value. For example, to check whether a key figure has a value greater than 5, specify the condition KNZ > 5, where KNZ denotes the name of the key figure. The otherwise usual $ specification is omitted.
Alternatively, one or more pre-defined condition(s) provided by the administrator can be selected.
Using the selection field you control whether execution should be skipped in this case or whether ReportServer should try again after a waiting time.
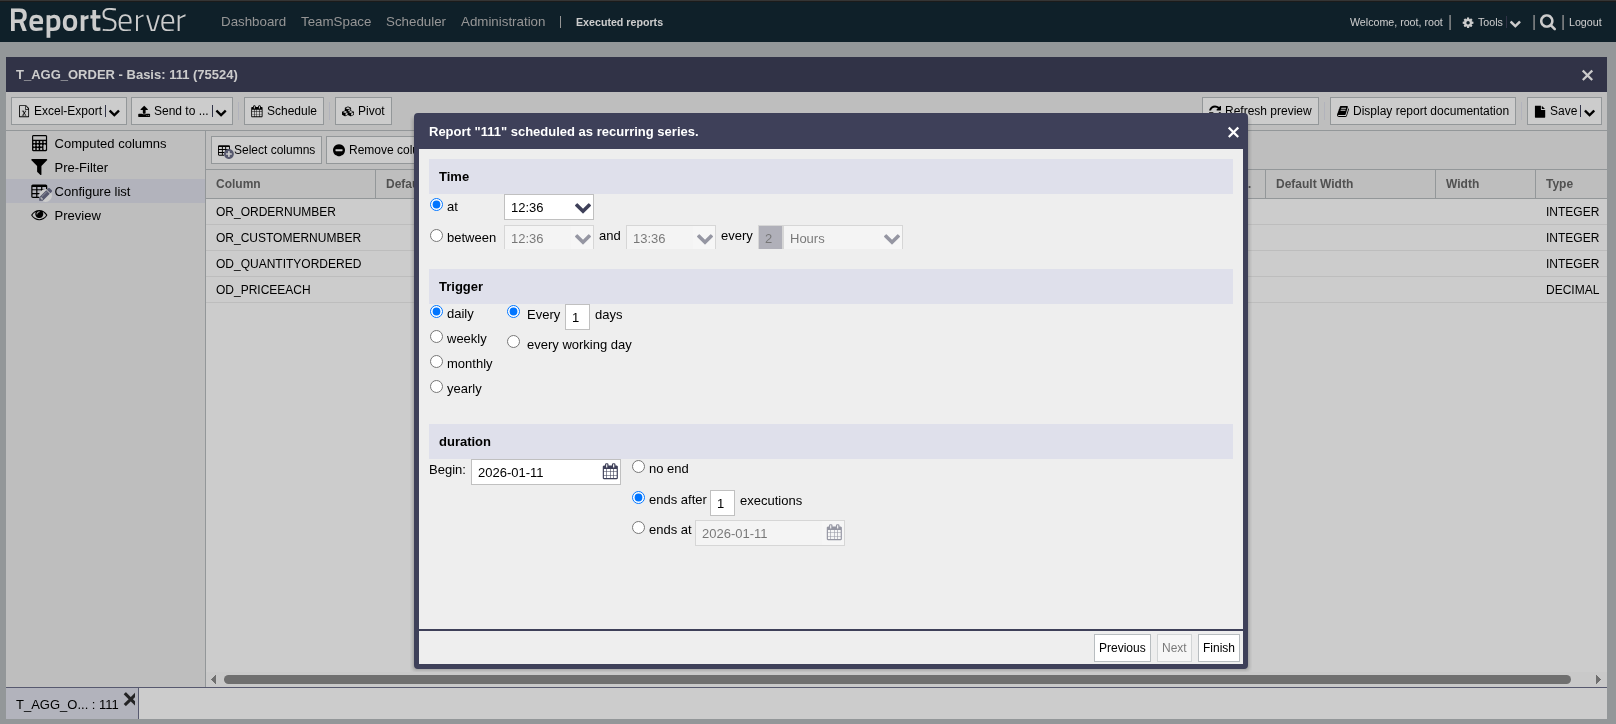
On the last dialog page you configure the execution plan, which specifies when and how often the report is to be executed. The configuration is similar to that of a recurring appointment in common calendar applications.
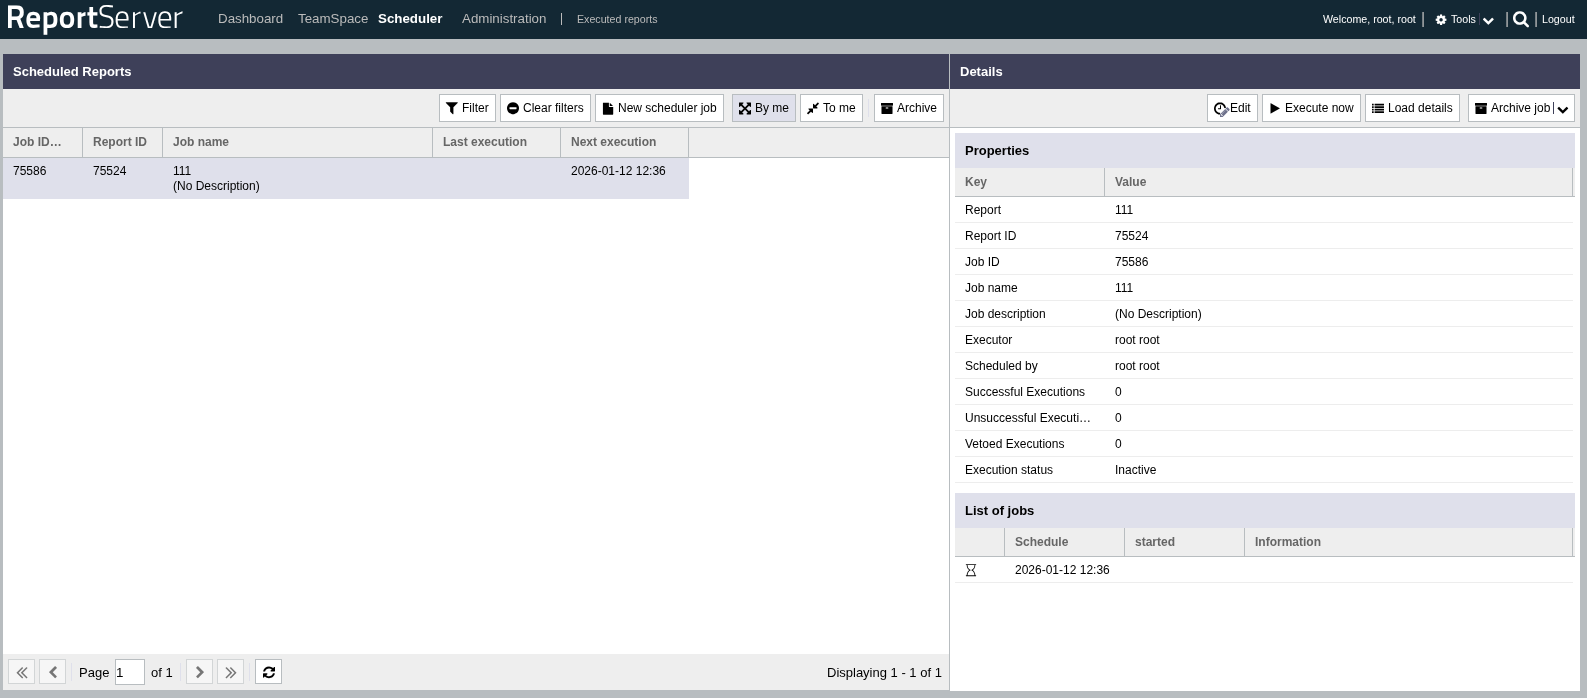
The module provides an overview of all schedules that were either created by you or for which you have been specified as a recipient.

All schedules are listed in the left half of the window. You can filter the view using the toolbar buttons. When you select a schedule, the detail view for it is loaded in the right half of the window.
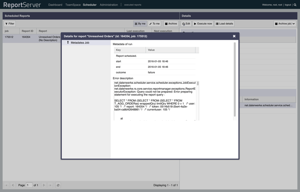
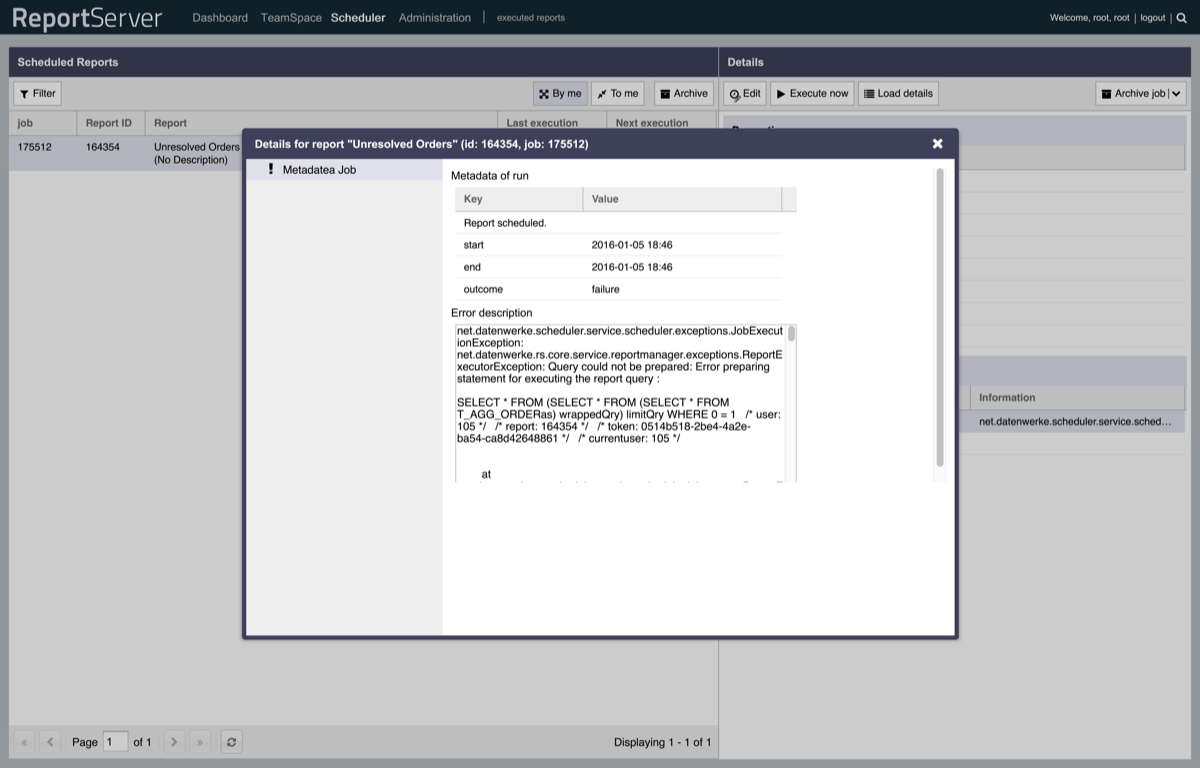
The detail view shows, in addition to general information about the scheduled report, a history of past executions as well as the next upcoming execution dates. By double-clicking an execution that has already completed, you open a dialog with information about that execution. If an error occurred, you will find information about the cause here.
Using the toolbar in the detail view, it is also possible to trigger an immediate execution and to edit the execution plan. If the execution plan is edited, the old schedule is archived and a new schedule is created.
The button expands the list of past executions into a complete history. disables a schedule and moves it to the archive.